Preface: Why I Needed a Homelab
Ever since I bought my MacBook, I’ve struggled with file management. On my main PC, I had a 2TB HDD where I stored most of my files and created a Samba server to access them, but I couldn’t access them from anywhere outside my home network. I also had some files on my cloud provider DigiStorage, which created this frustrating limbo where I never knew where to find things.
I’d often search for a file on my MacBook only to realize it was on my PC, or vice versa. When I was away from home, I couldn’t access anything stored locally. This fragmented setup was becoming a real productivity killer.
I always thought about transforming my main computer into a server, but I hesitated because I use it occasionally for gaming with friends. I didn’t want to dual-boot Windows and Ubuntu, and keeping my power-hungry gaming PC running 24/7 seemed wasteful.
What I really wanted was a central place for all my files, accessible from anywhere, without paying monthly subscription fees for cloud storage. I also wanted to run my own services—web server, database, perhaps even a game server. Essentially, I wanted my own personal cloud where I could store all my files and host all my services.
Finding the Right Hardware
I started looking on a local marketplace for a Raspberry Pi 5, but it was expensive for what it provides —around 110€—and I knew it wouldn’t be powerful enough for my needs. Next, I explored mini PCs and found some affordable but outdated options running 6th-gen i3/i5 processors.
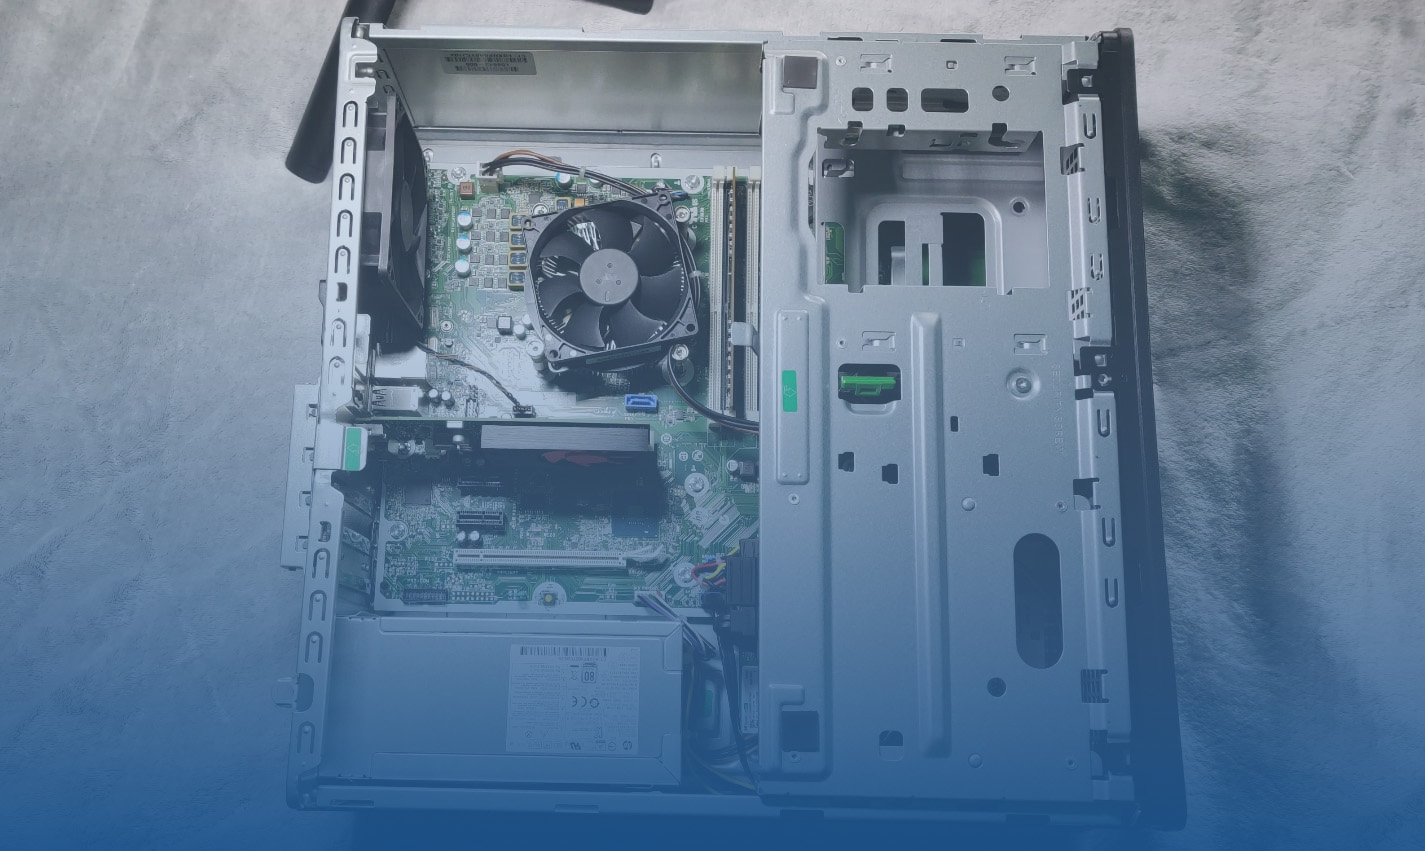
Then I realized I could get a better deal with a used pre-built computer from Dell or HP. I eventually found an HP EliteDesk 800 G4 with impressive specs for just 110€:
HP EliteDesk 800 G4
- Intel i7-8700 (4.6GHz, 6 cores, 12 threads)
- 256GB NVMe SSD
- 16GB RAM
This was an incredible deal compared to everything else I’d seen. I immediately purchased it, transferred my 2TB HDD from my main computer and my 500GB SSD, and initially installed Ubuntu Server. But then I realized I could make my life easier by installing Proxmox, a hypervisor that would allow me to run multiple virtual machines on a single physical machine.
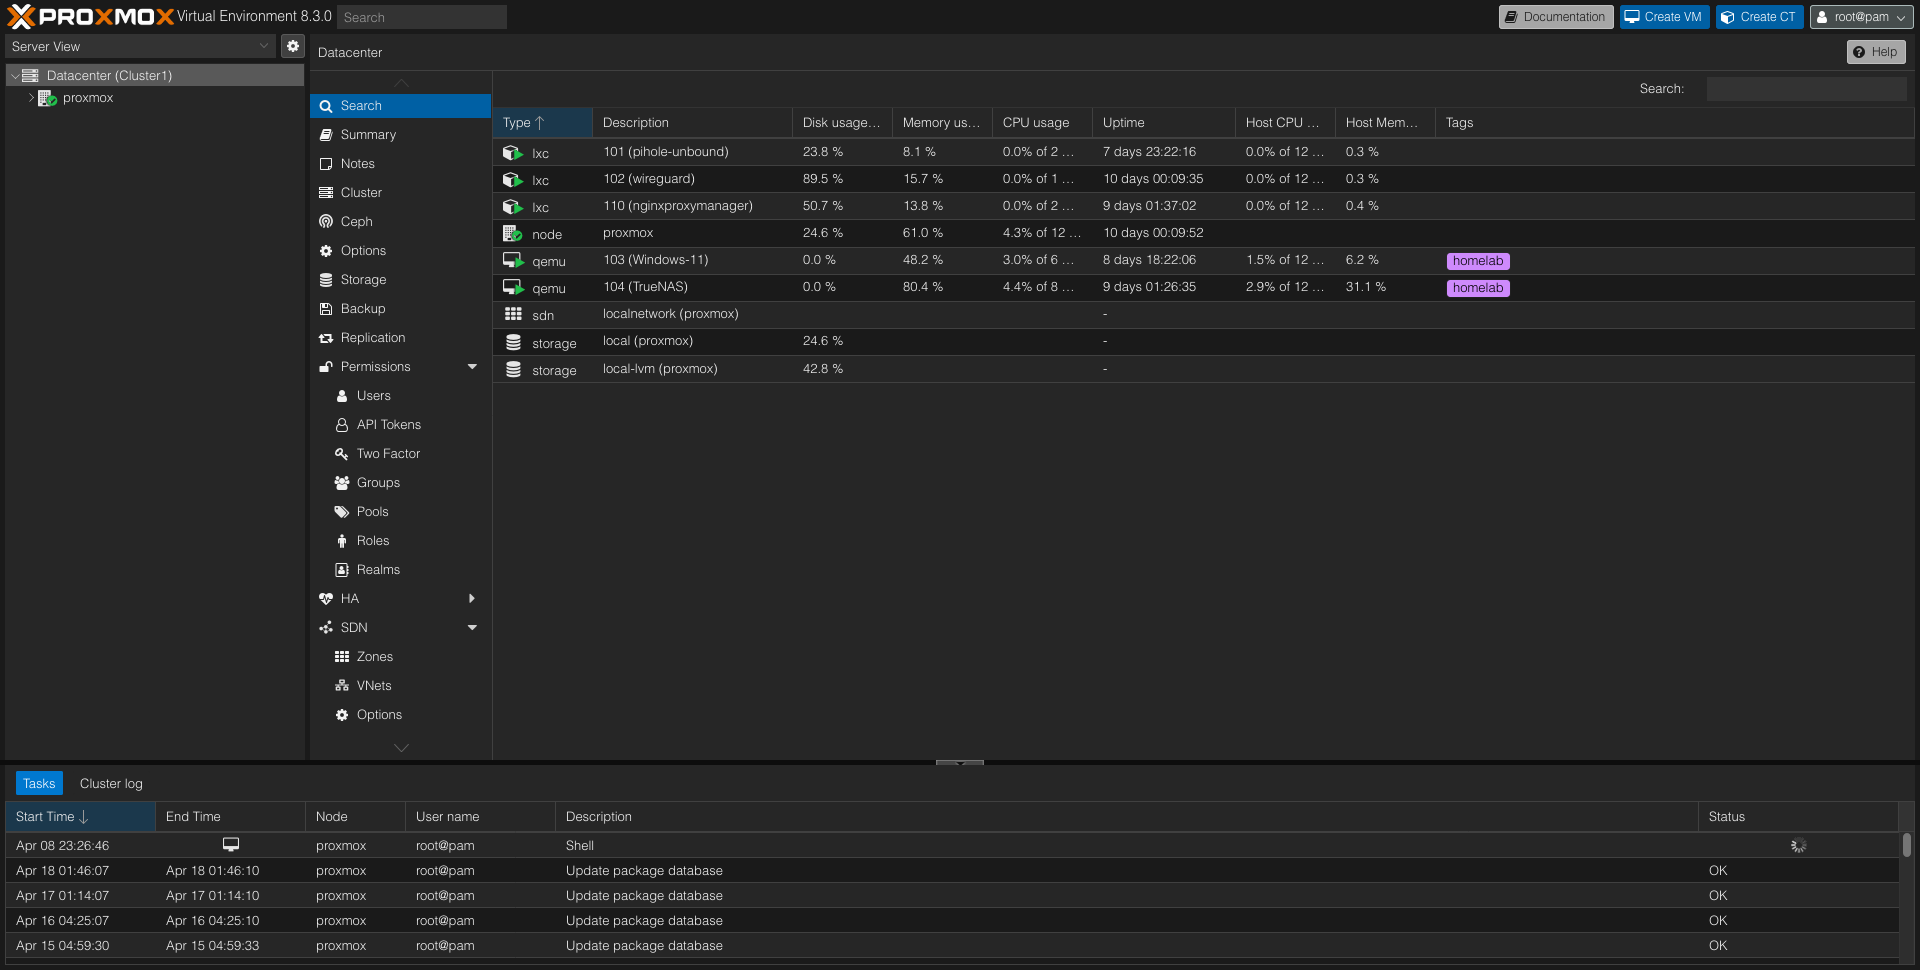
Installing Proxmox
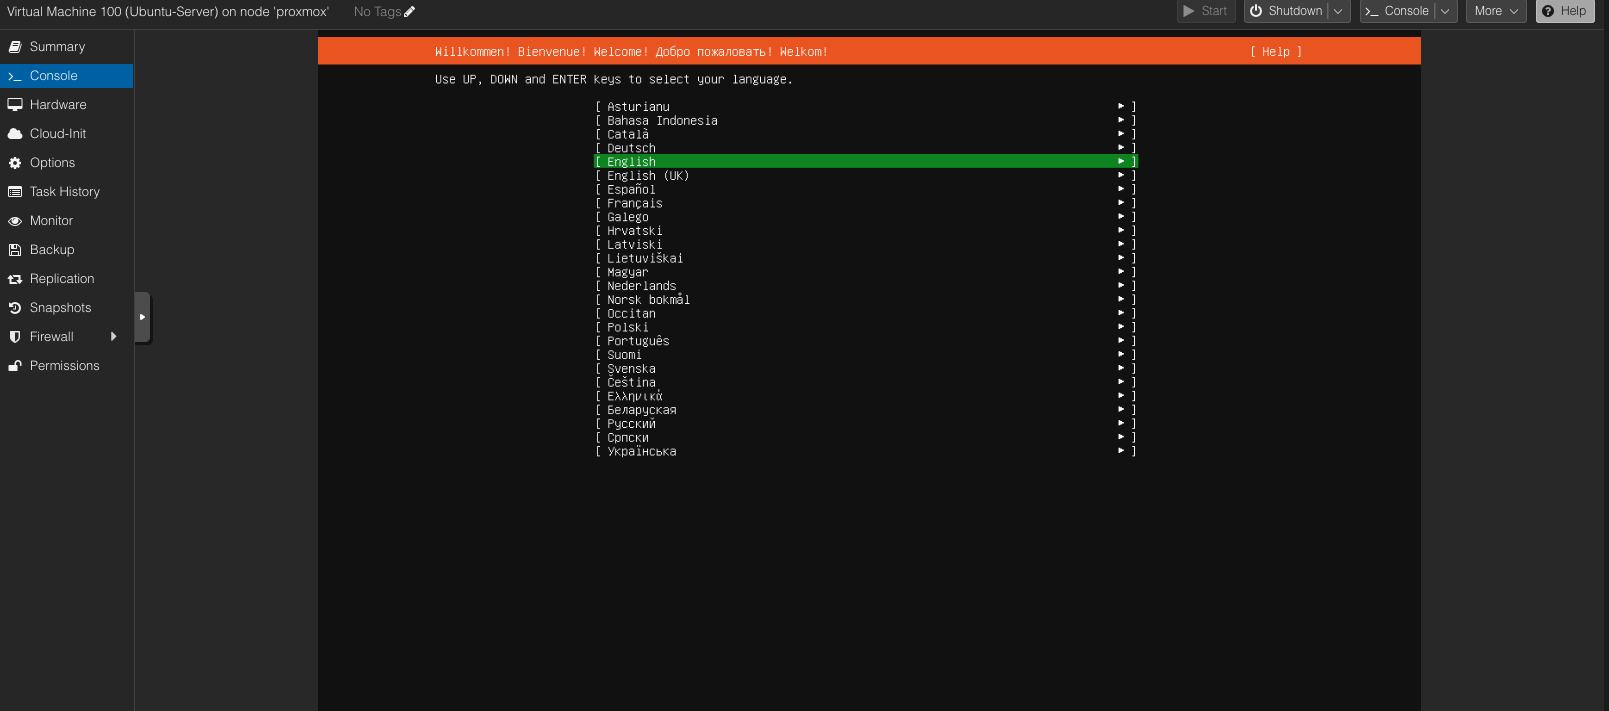
I went to the Proxmox website and downloaded the latest version of Proxmox VE. I created a bootable USB drive using Rufus and plugged it into my new server. The installation was straightforward, and within minutes, I had Proxmox up and running.
After logging into the Proxmox web interface, I ran a couple of useful scripts to optimize my setup:
First, I ran a post-installation script that manages Proxmox VE repositories:
bash -c "$(wget -qLO - https://github.com/tteck/Proxmox/raw/main/misc/post-pve-install.sh)"This script handles disabling the Enterprise Repo, adding the No-Subscription Repo, removing the subscription nag, and updating Proxmox VE. I answered “yes” to all options.
Next, I installed a cool script that provides web interface sensor readings for CPU and NVMe SSDs:
apt-get install lm-sensors
sensors-detect
wget https://raw.githubusercontent.com/Meliox/PVE-mods/main/pve-mod-gui-sensors.sh
bash pve-mod-gui-sensors.sh install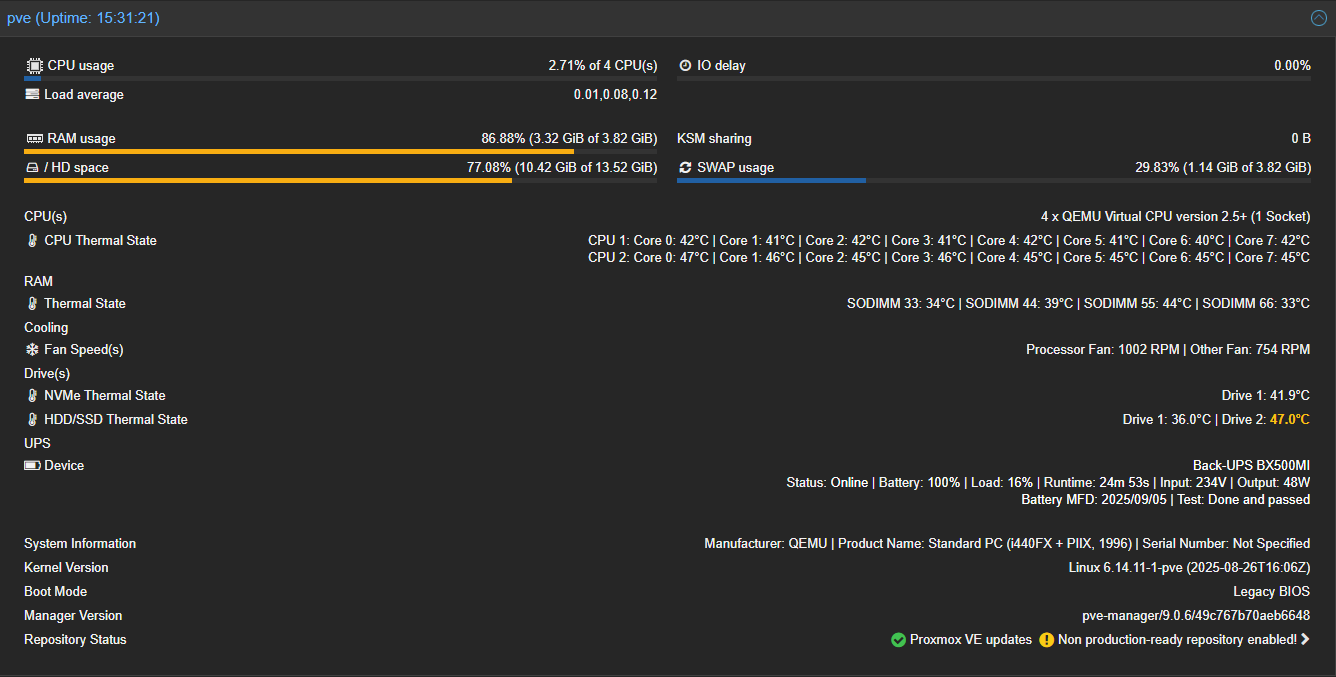
Before installing operating systems on virtual machines, I needed to add ISOs to the ‘local’ storage. I added:
- Ubuntu Server 24.04.2
- TrueNAS SCALE 25.04
- Windows 11 24H2
For container templates, I added Alpine 3.21, Debian 12, and some pre-built templates for Nginx and WireGuard. I recommend Alpine 3.21 since it’s the most lightweight option.
Virtual Machines vs. Containers
A quick note on the difference: a virtual machine is a complete operating system running on a hypervisor, while a container is a lightweight, portable unit that contains everything needed to run a piece of software. Containers share the host OS kernel, making them more efficient but less isolated than VMs.
Containers are great for running lightweight applications, while virtual machines are better for running full operating systems or applications that require more isolation or resources.
Creating a Virtual Machine
Creating a VM in Proxmox is simple. Here’s how I did it:
- On the top right corner, I clicked “Create VM” and pressed advanced.
- I entered the VM name and checked “Start at boot.”

- For the OS section, I selected the Ubuntu Server ISO.
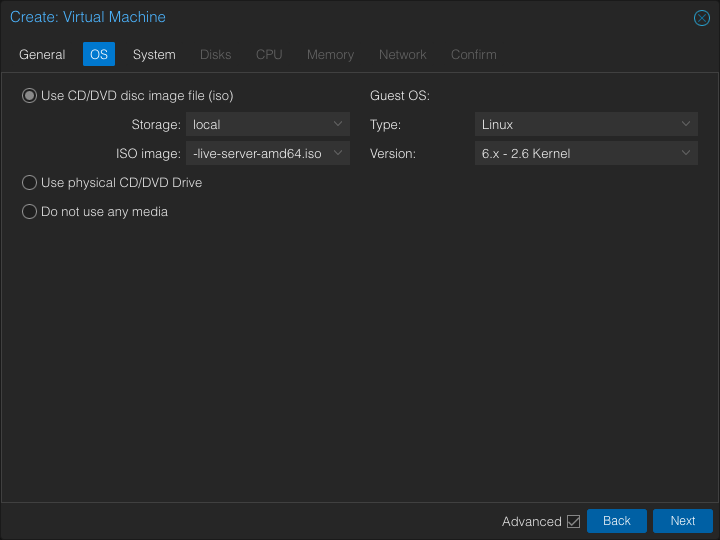
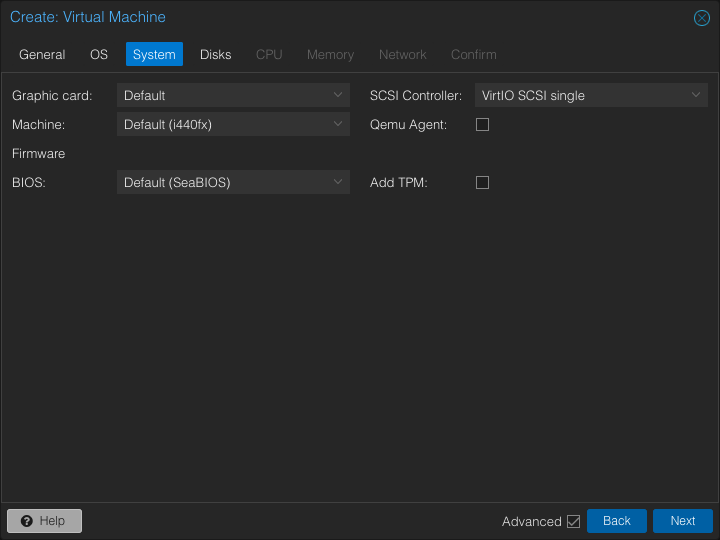
- For the System section, I left everything as default.
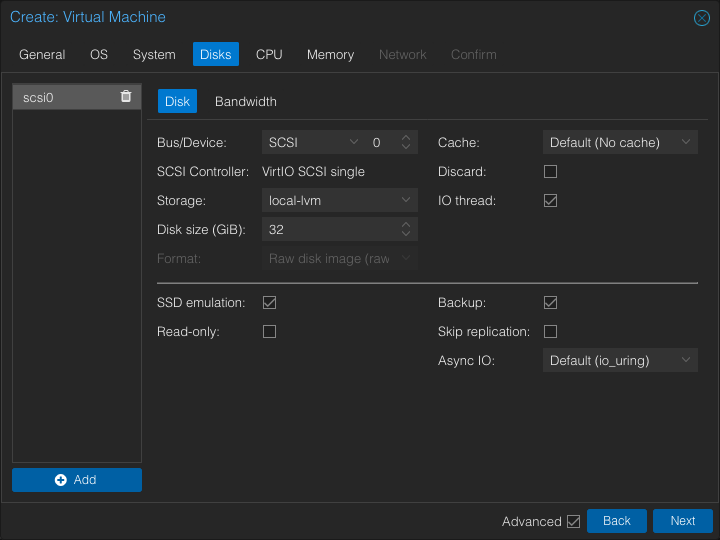
- For the Disks section, I set my desired disk size, enabled SSD emulation, and disabled backups.
- For the CPU section, I allocated 2 cores and enabled CPU type “host.”

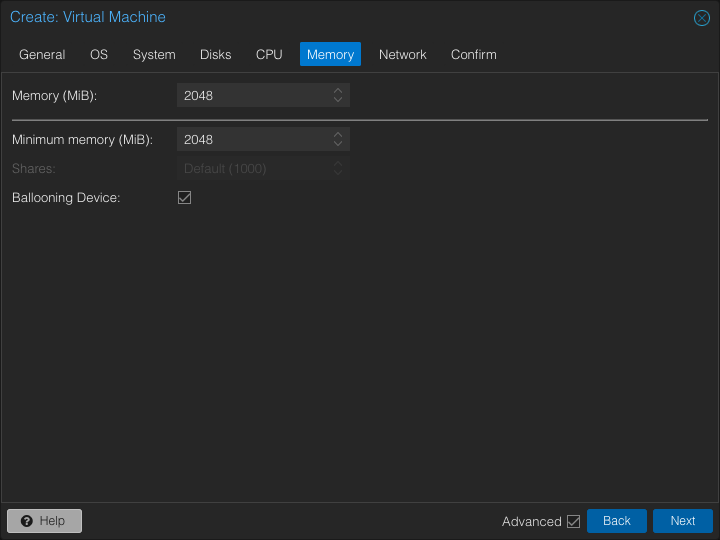
- For the Memory section, I allocated 2GB of RAM for this tutorial VM and enabled ballooning.
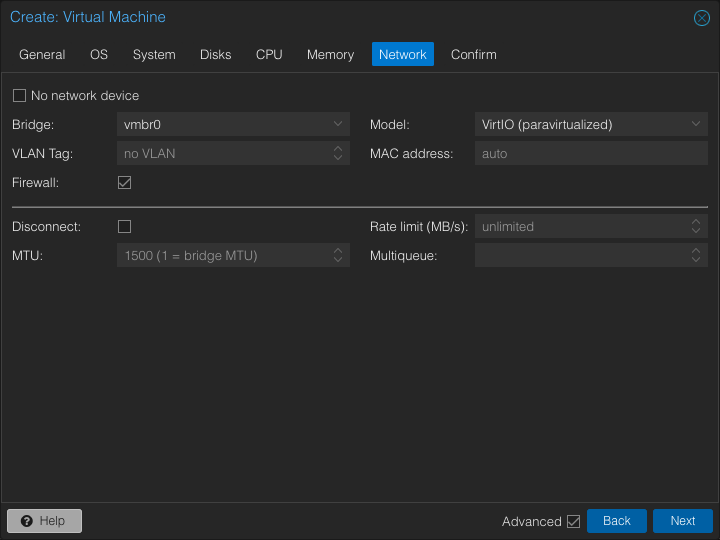
- For the Network section, I left everything as default.
- I reviewed everything and clicked Finish.
And just like that, I had a fully functioning VM ready to go!
Setting Up TrueNAS for Storage Management
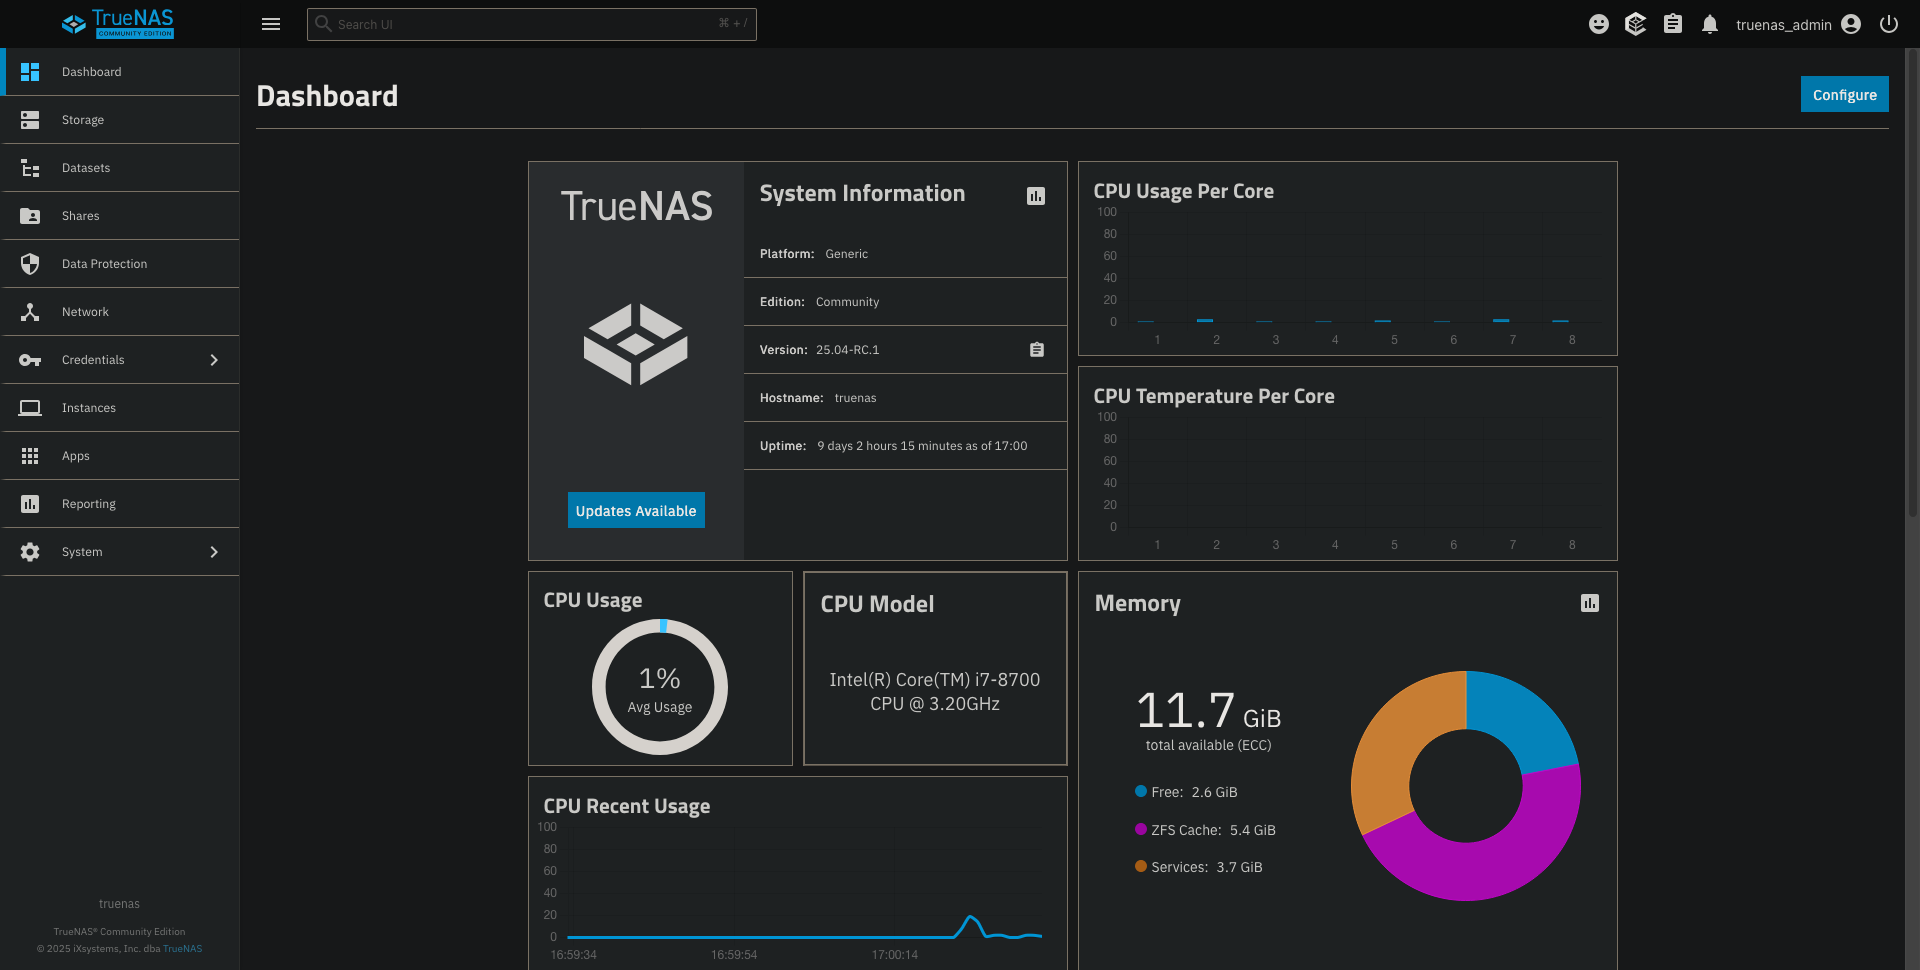
One of the first services I set up was TrueNAS SCALE. I chose it for its robust storage management capabilities and intuitive web interface. The installation was similar to setting up an Ubuntu VM, but I made sure to pass through my 2TB HDD directly to the TrueNAS VM.
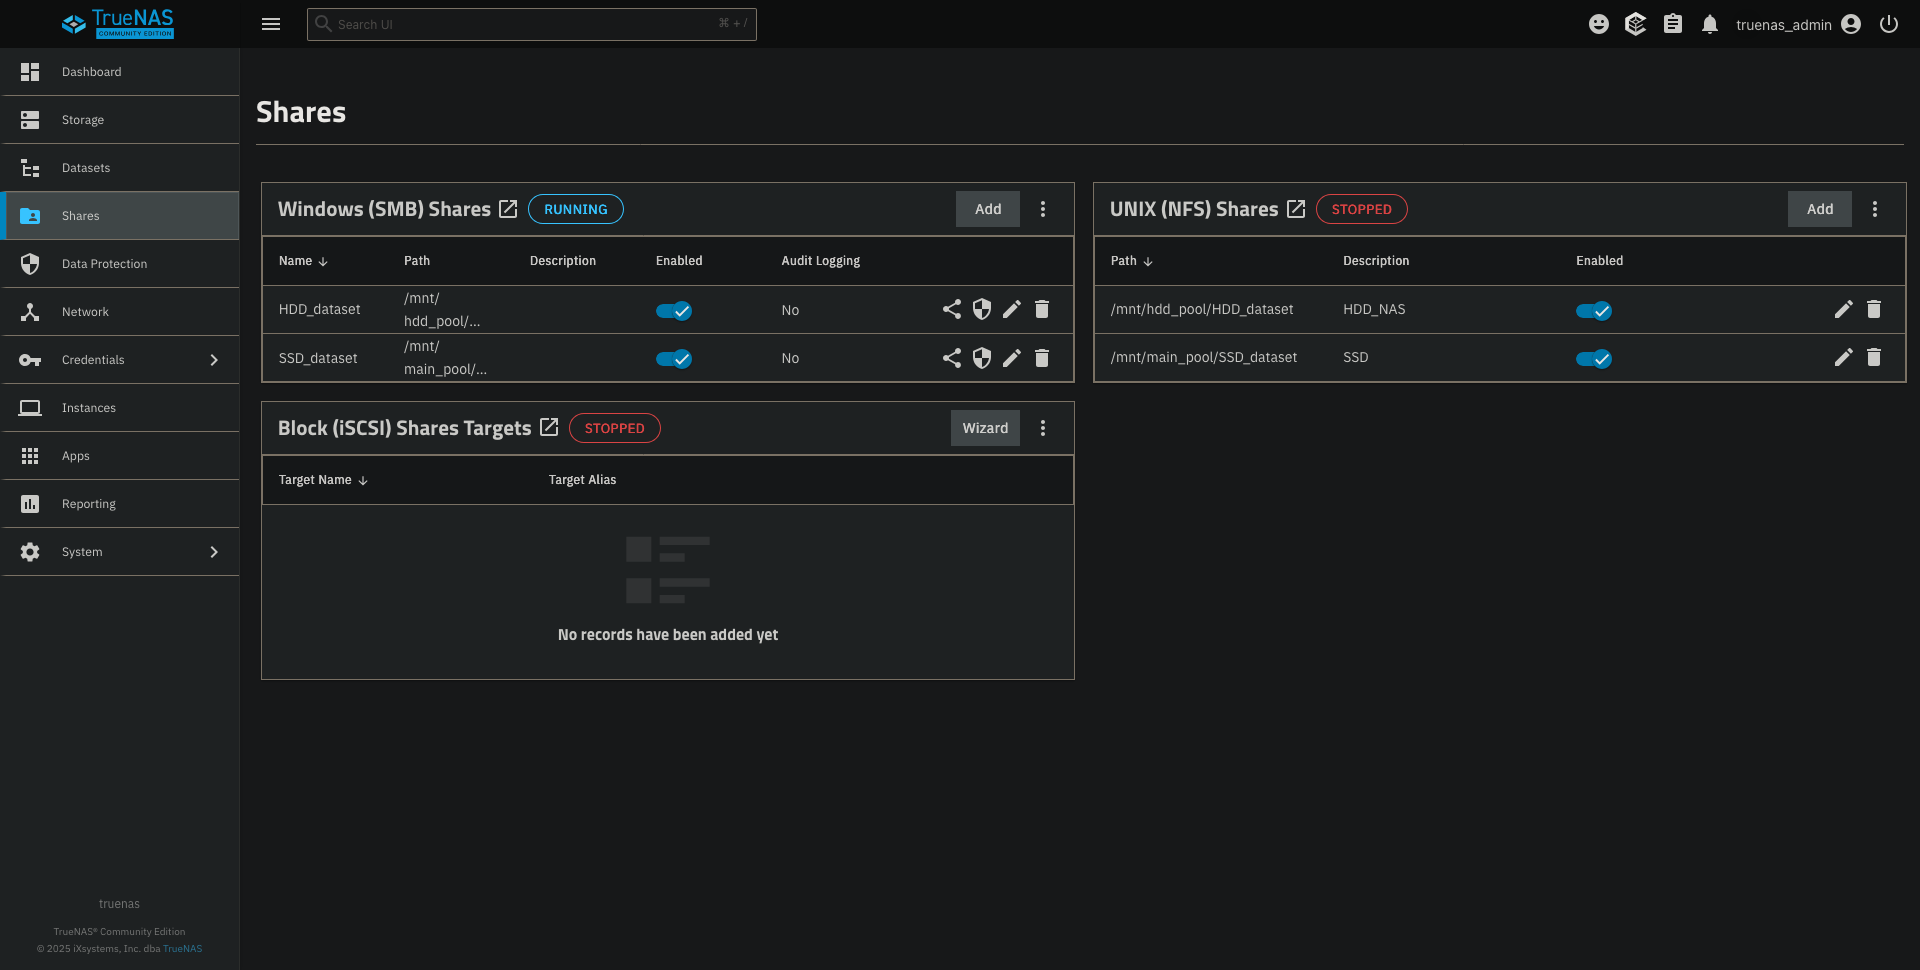
After installation, I created a ZFS pool using my HDD and SSD and set up various datasets for different types of files: photos, music, documents, and media. The beauty of TrueNAS is that it makes creating and managing Samba shares extremely simple, allowing me to access my files from any device on my network.
I also set up periodic snapshots of my data, providing me with point-in-time recovery options in case anything went wrong. This feature alone gave me peace of mind that I never had with my previous setup.
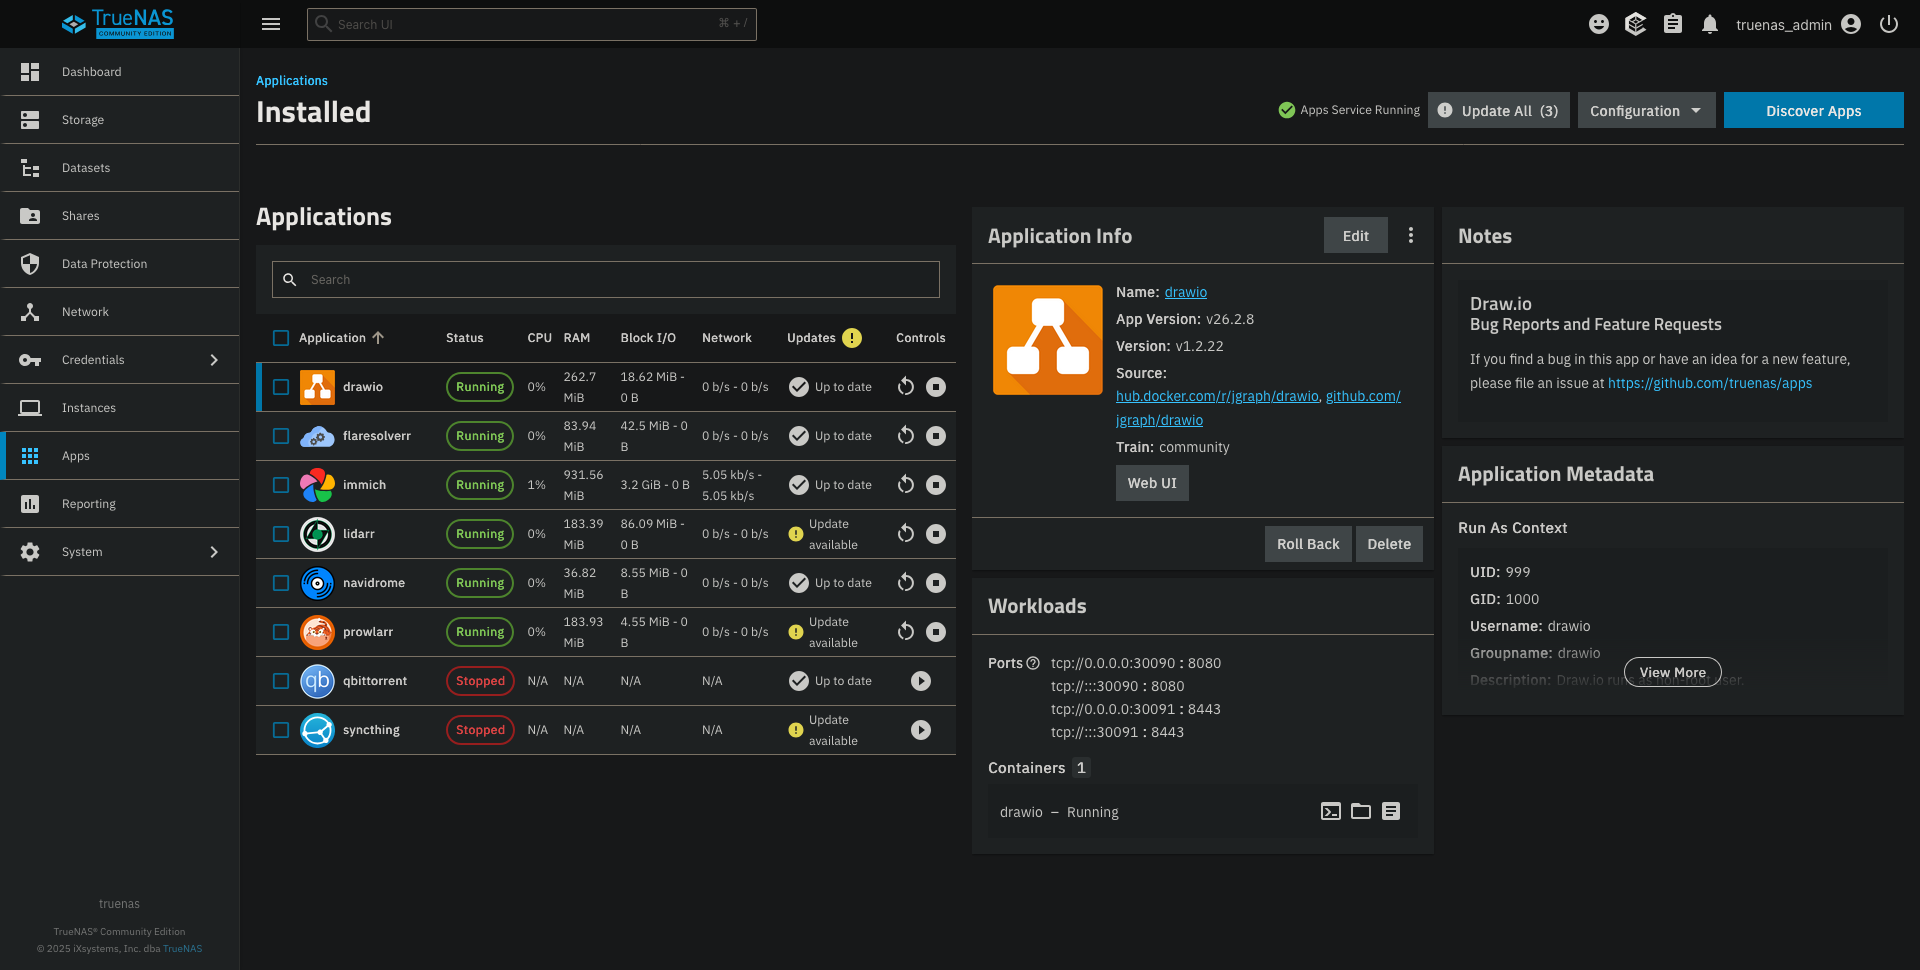
TrueNAS SCALE comes with a built-in app catalog that makes it incredibly easy to deploy containerized applications. As you can see in the screenshot above, I’ve deployed several applications this way. While I won’t go into depth about every app I’m running, I’ll focus on the main ones that form the backbone of my homelab setup.
My Battle with Nginx Proxy Manager
Setting up Nginx Proxy Manager was one of the more challenging aspects of my homelab journey. I wanted to access my services using friendly domain names instead of IP addresses and ports, both locally and remotely.
I installed Nginx Proxy Manager as a container in Alpine Linux rather than directly in TrueNAS. This decision came after realizing that TrueNAS was already using ports 80 and 443, which created routing conflicts for my local subdomain requests.
I knew my ISP was controlling my .go.ro subdomain, which complicated things. I couldn’t create the necessary DNS records for my subdomains. After much troubleshooting, I realized I needed to:
- Buy my own domain (zvix.ro)
- Set up Nginx Proxy Manager separately from TrueNAS in an Alpine container because TrueNAS was already using ports 80 and 443, which meant I couldn’t route my local DHCP CNAME requests through Pi-hole (it doesn’t support ports and automatically every request was routed to the TrueNAS server)
- Create a Cloudflare account to manage my DNS records and point my domain to my server’s IP address
- Configure Nginx Proxy Manager to handle the routing based on the requested domain name
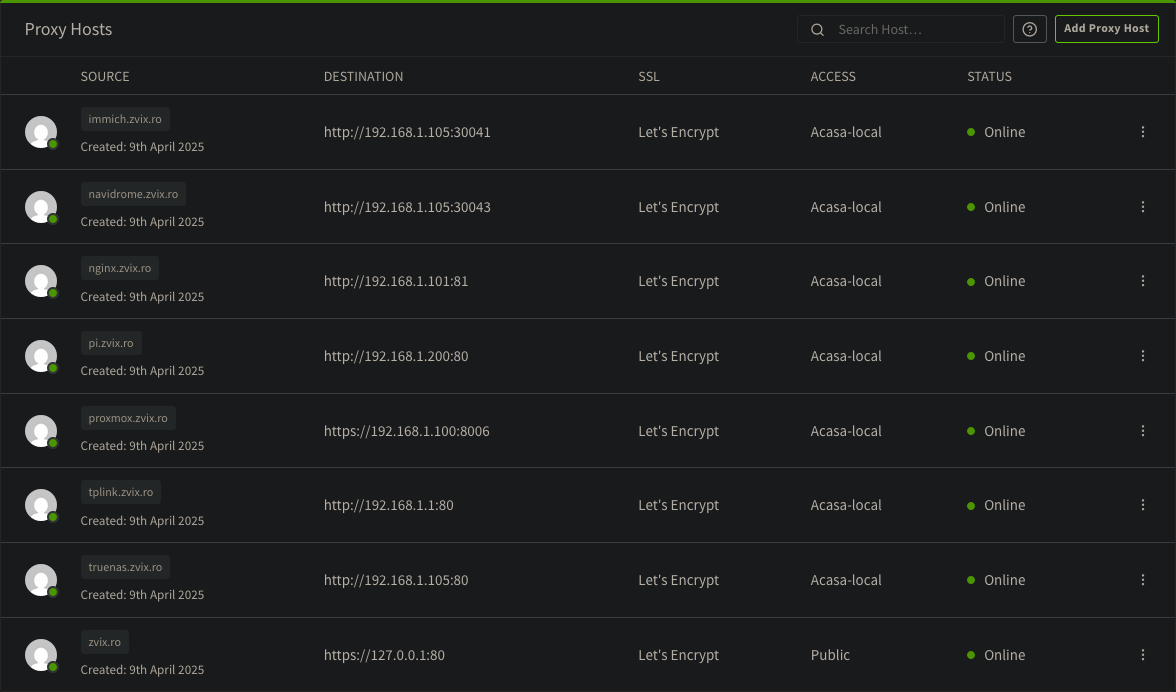
As you can see in the screenshot, I now have multiple proxy hosts set up, each directing traffic to the appropriate internal service. All connections use Let’s Encrypt SSL certificates for secure access, and most are restricted to my home network or VPN using the “Acasa-local” access list.
This setup allows me to access services like immich.zvix.ro or navidrome.zvix.ro without remembering IP addresses and port numbers. It’s much more elegant and user-friendly, especially when using mobile apps that need to connect to these services.
Setting Up WireGuard for Secure Remote Access
I also wanted to access my services remotely without exposing everything to the internet. I set up WireGuard VPN, which allows me to connect to my home network securely from anywhere.
I created a WireGuard container in TrueNAS, configured client profiles for my devices (laptop, phone, tablet), and set up port forwarding on my router for the WireGuard UDP port. The setup was surprisingly straightforward compared to other VPN solutions I’ve tried in the past.
For added security, I configured Nginx Proxy Manager to only allow access to certain sensitive services from WireGuard IP addresses. I created an “Acasa-local” access list that restricts services to my local network and VPN IPs. This way, services like Immich are only accessible when I’m connected to my VPN, even though they have their own login and password protection.
This multi-layered approach to security gives me peace of mind when accessing my personal data remotely, knowing that even if someone discovered my domain, they couldn’t access my private services without first connecting to my VPN.
Media Management with Immich and Navidrome
With storage and networking sorted, I turned my attention to media management. My primary goals were photo backup/organization and music streaming.
Immich for Photo Management
I installed Immich, a self-hosted Google Photos alternative, as a container in TrueNAS. Setting it up was relatively straightforward:
- Created a new container using the Immich template
- Mapped a volume from my TrueNAS photo dataset to the container
- Configured Immich through its web interface
- Set up the proxy host in Nginx Proxy Manager
Now I can access my photos from anywhere using immich.zvix.ro, and the mobile app lets me automatically back up new photos from my phone. The facial recognition and search capabilities are impressive for a self-hosted solution, and I no longer worry about cloud storage limits or privacy concerns.
Navidrome for Music Streaming
For music, I chose Navidrome. The setup process was similar to Immich:
- Created a Navidrome container
- Pointed it to my music library on TrueNAS
- Configured the proxy host in Nginx PM
Navidrome scanned my music collection and organized everything beautifully. I can now stream my entire music library from any device using the web interface or compatible apps like Feishin.
Setting Up Pi-hole for Network-Wide Ad Blocking
An essential component of my homelab is Pi-hole, which I installed to provide network-wide ad blocking and local DNS resolution. Setting it up was straightforward:
- I created a lightweight Alpine Linux container in Proxmox
- Installed Pi-hole using their one-line installer:
curl -sSL https://install.pi-hole.net | bash- Configured my router to use Pi-hole as the primary DNS server
Pi-hole immediately improved my browsing experience by blocking ads across all devices on my network. But more importantly for my homelab, it allowed me to create local DNS records for my services.
In the Pi-hole admin interface, I added DNS records pointing my subdomains (like immich.zvix.ro and truenas.zvix.ro) to my server’s local IP address. This made it much easier to access my services locally without remembering IP addresses and ports.
I also set up CNAME records to make managing these entries simpler. By pointing all my service subdomains to my main domain as a CNAME record, I only needed to update one record if my server’s IP changed.
Final Thoughts
Building this homelab has transformed how I manage my digital life. All my files are now in one place, accessible from anywhere, and I have complete control over my data. The initial investment was minimal—just 110€ for the server hardware—but the benefits have been enormous.
My setup includes:
- Proxmox VE as the hypervisor managing all my virtual machines
- TrueNAS SCALE handling storage, file sharing, and container applications
- Pi-hole providing network-wide ad blocking and local DNS resolution
- Nginx Proxy Manager routing traffic to the right services based on domain names
- WireGuard enabling secure remote access
- Immich for photo management and backup
- Navidrome for music streaming
- Various other services like Draw.io, Prowlarr, and more
Having everything centralized has eliminated the frustration of searching for files across multiple devices and services. I no longer pay for cloud storage subscriptions, and I have much greater privacy and control over my data.
If you’re facing similar challenges with fragmented data and services, I highly recommend setting up your own homelab. Start small, perhaps with just a NAS, and gradually expand as you become more comfortable with the technologies.
My journey isn’t over yet. Future plans include integrating Home Assistant for home automation, setting up a media server with Jellyfin, and perhaps even hosting my own email server. The beauty of a homelab is that you can continuously expand and adapt it to your needs.
Have you built your own homelab? What services are you running? I’d love to hear about your experiences and any tips you might have, so feel free to contact me by email :)